ComfyUI
本教程为社区贡献内容,不属于 OPL 数据空间团队的官方支持范围。它主要演示如何按你的具体场景定制 OPL 数据空间。若想参与贡献,请查看贡献指南。
ComfyUI 是一套功能强、模块化的 Stable Diffusion 节点式图形界面,适合需要深度控制图像生成流程的用户。更多信息与下载方式见其 GitHub 页面。
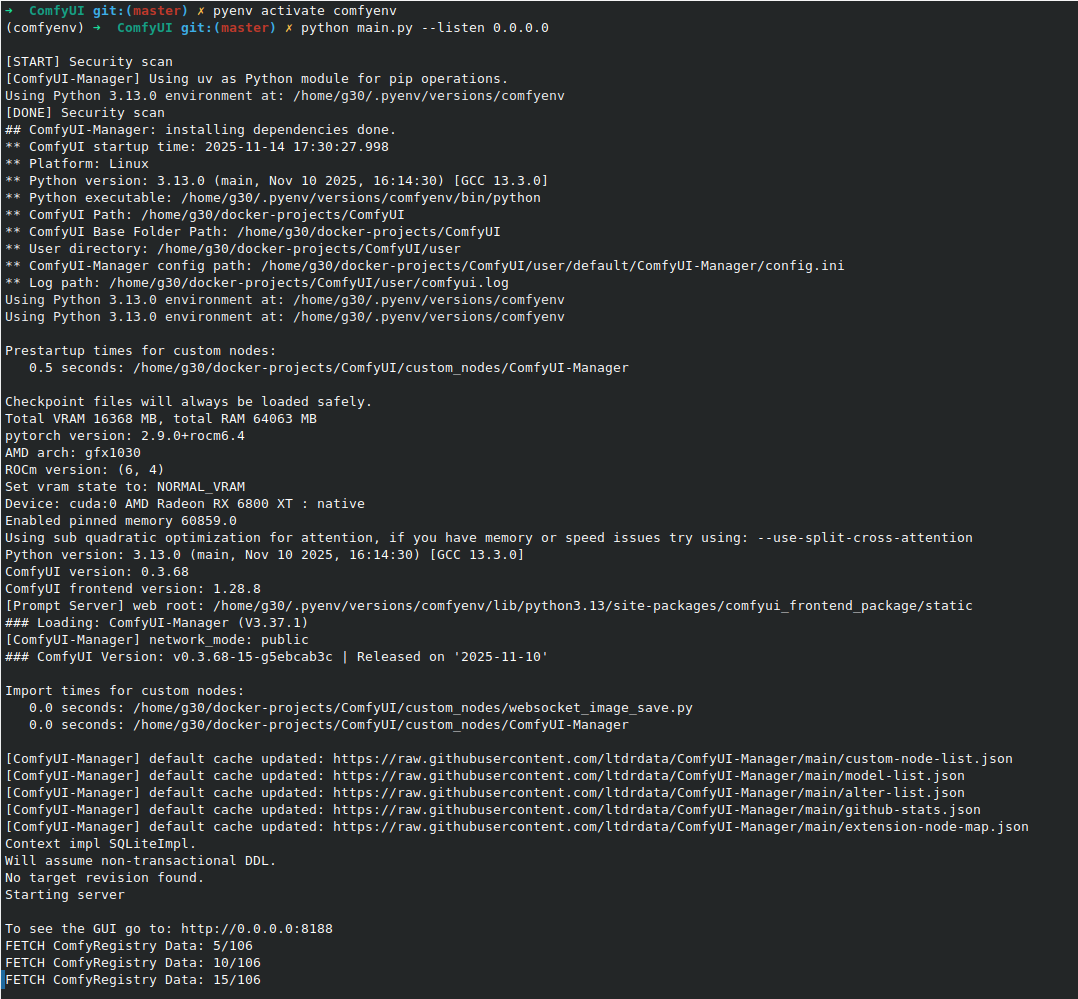
为了让 OPL 数据空间能访问 ComfyUI,你必须在启动 ComfyUI 时加上 --listen,使其绑定到 0.0.0.0。这样它才能接收来自局域网或容器的连接。
启动后,ComfyUI 界面通常可通过 http://<your_comfyui_ip>:8188 访问。
将 ComfyUI 连接到 OPL 数据空间
OPL 数据空间通常运行在 Docker 中,因此你需要保证容器能通过 host.docker.internal 访问宿主机上的 ComfyUI。
- 宿主绑定检查:确认 ComfyUI 使用
--listen 0.0.0.0启动。 - 防火墙检查:如果宿主启用了 UFW,请确保开放 8188 端口,例如
sudo ufw allow 8188/tcp。 - Docker 运行命令(Linux 原生 Docker):对于未使用 Docker Desktop 的 Linux 环境,需要显式映射宿主网关:
docker run -d -p 3000:8080 \
  --add-host=host.docker.internal:host-gateway \
  -e COMFYUI_BASE_URL=http://host.docker.internal:8188/ \
  -e ENABLE_IMAGE_GENERATION=True \
  -v open-webui:/app/backend/data \
  --name open-webui \
  --restart always \
  ghcr.io/open-webui/open-webui:main
完成 ComfyUI 安装并启动后,即可从 OPL 数据空间的管理设置中进行接入。
图像提示词生成
该功能会使用语言模型基于你的初始输入自动生成更完整、更具创造性的提示��词,从而提高出图效果。
Image Prompt Generation 开关位于 管理员面板 > 设置 > Images 的 “Image Generation” 区域,并且出现在选择图像引擎之前。
如果你需要自定义提示词模板,可前往 管理员面板 > 设置 > 界面 > Tasks。
创建图片(图像生成)
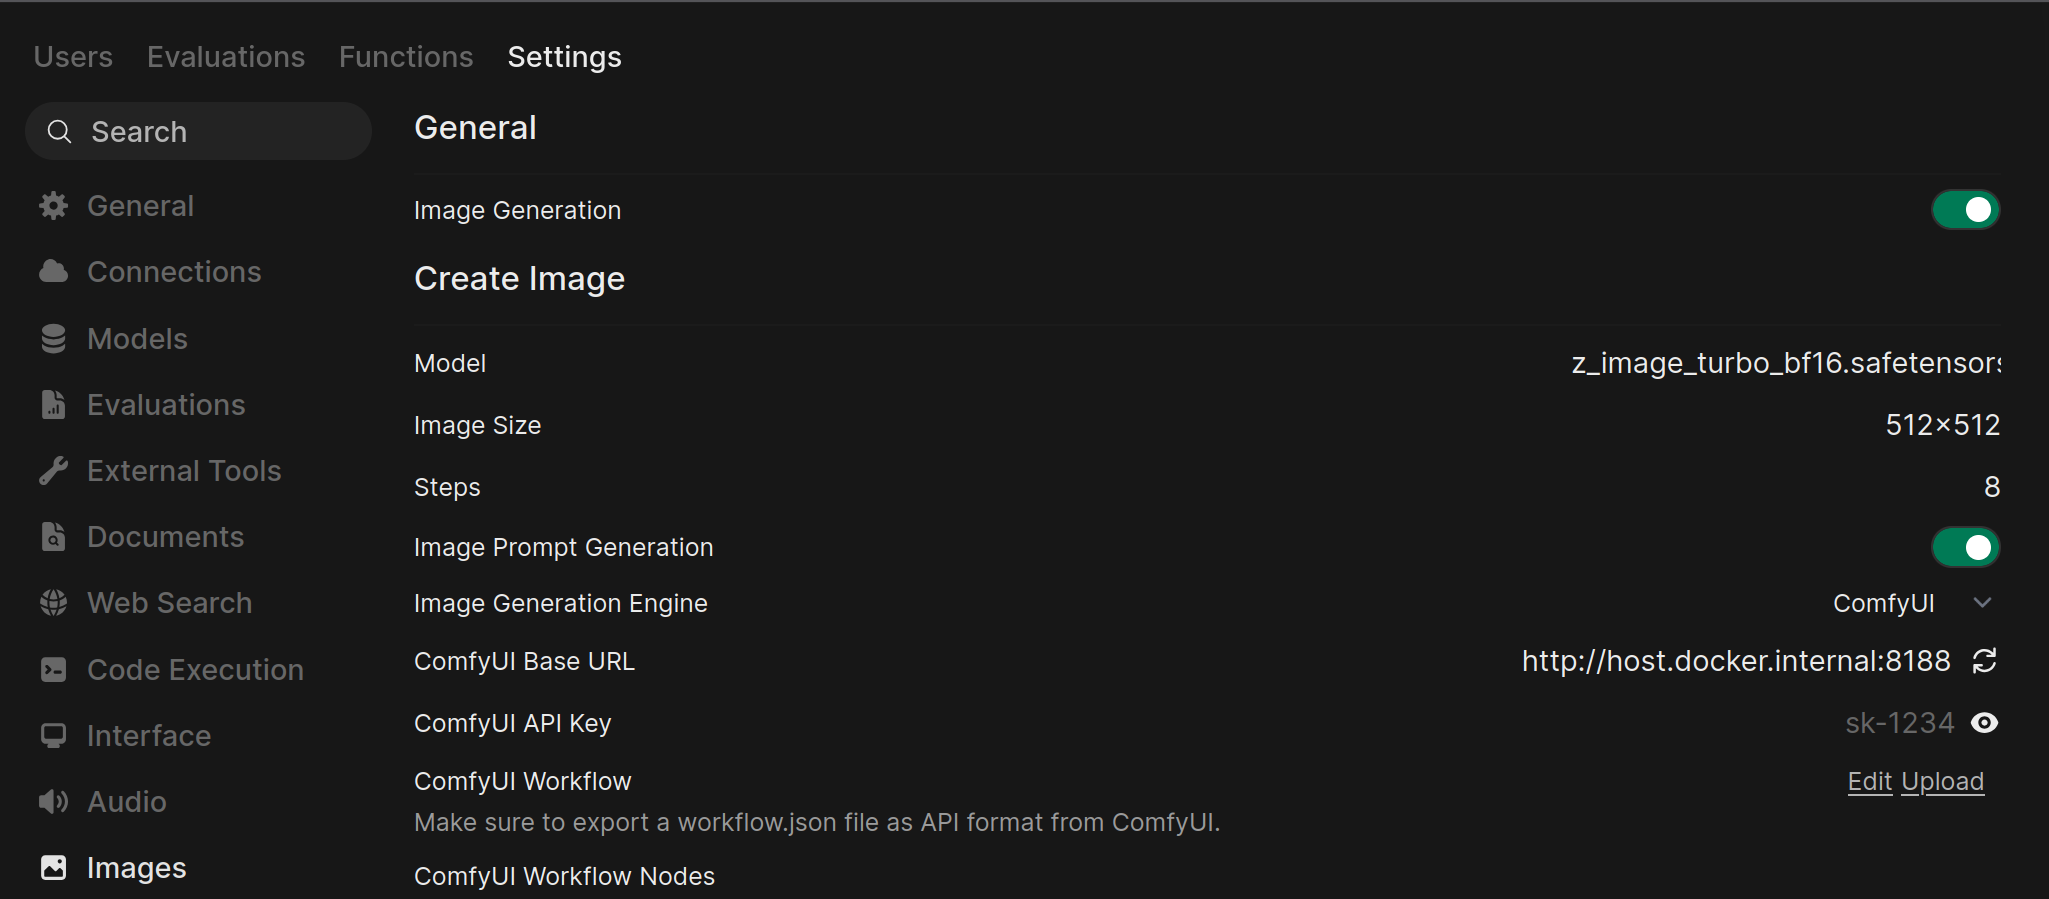
- 进入图像设置:在 OPL 数据空间中打开 管理员面板 > 设置 > Images。
- 启用并配置 ComfyUI:
- 确保页面顶部的 Image Generation 已启用。
- 在 Create Image 区域将 Image Generation Engine 设为
ComfyUI。 - Model:选择用于生成的基础模型。
- Image Size:设置输出分辨率,例如
512x512、1024x1024。 - Steps:采样步数;数值更高通常意味着更好的质量,但耗时也更长。
- 在 ComfyUI Base URL 中填写运行中的 ComfyUI 地址,例如
http://host.docker.internal:8188/。 - 点击 URL 旁的刷新图标(🔄)校验连接;成功后应出现提示。
- 如果你的 ComfyUI �实例需要 API Key,可在 ComfyUI API Key 中填写。
- 上传 ComfyUI Workflow:
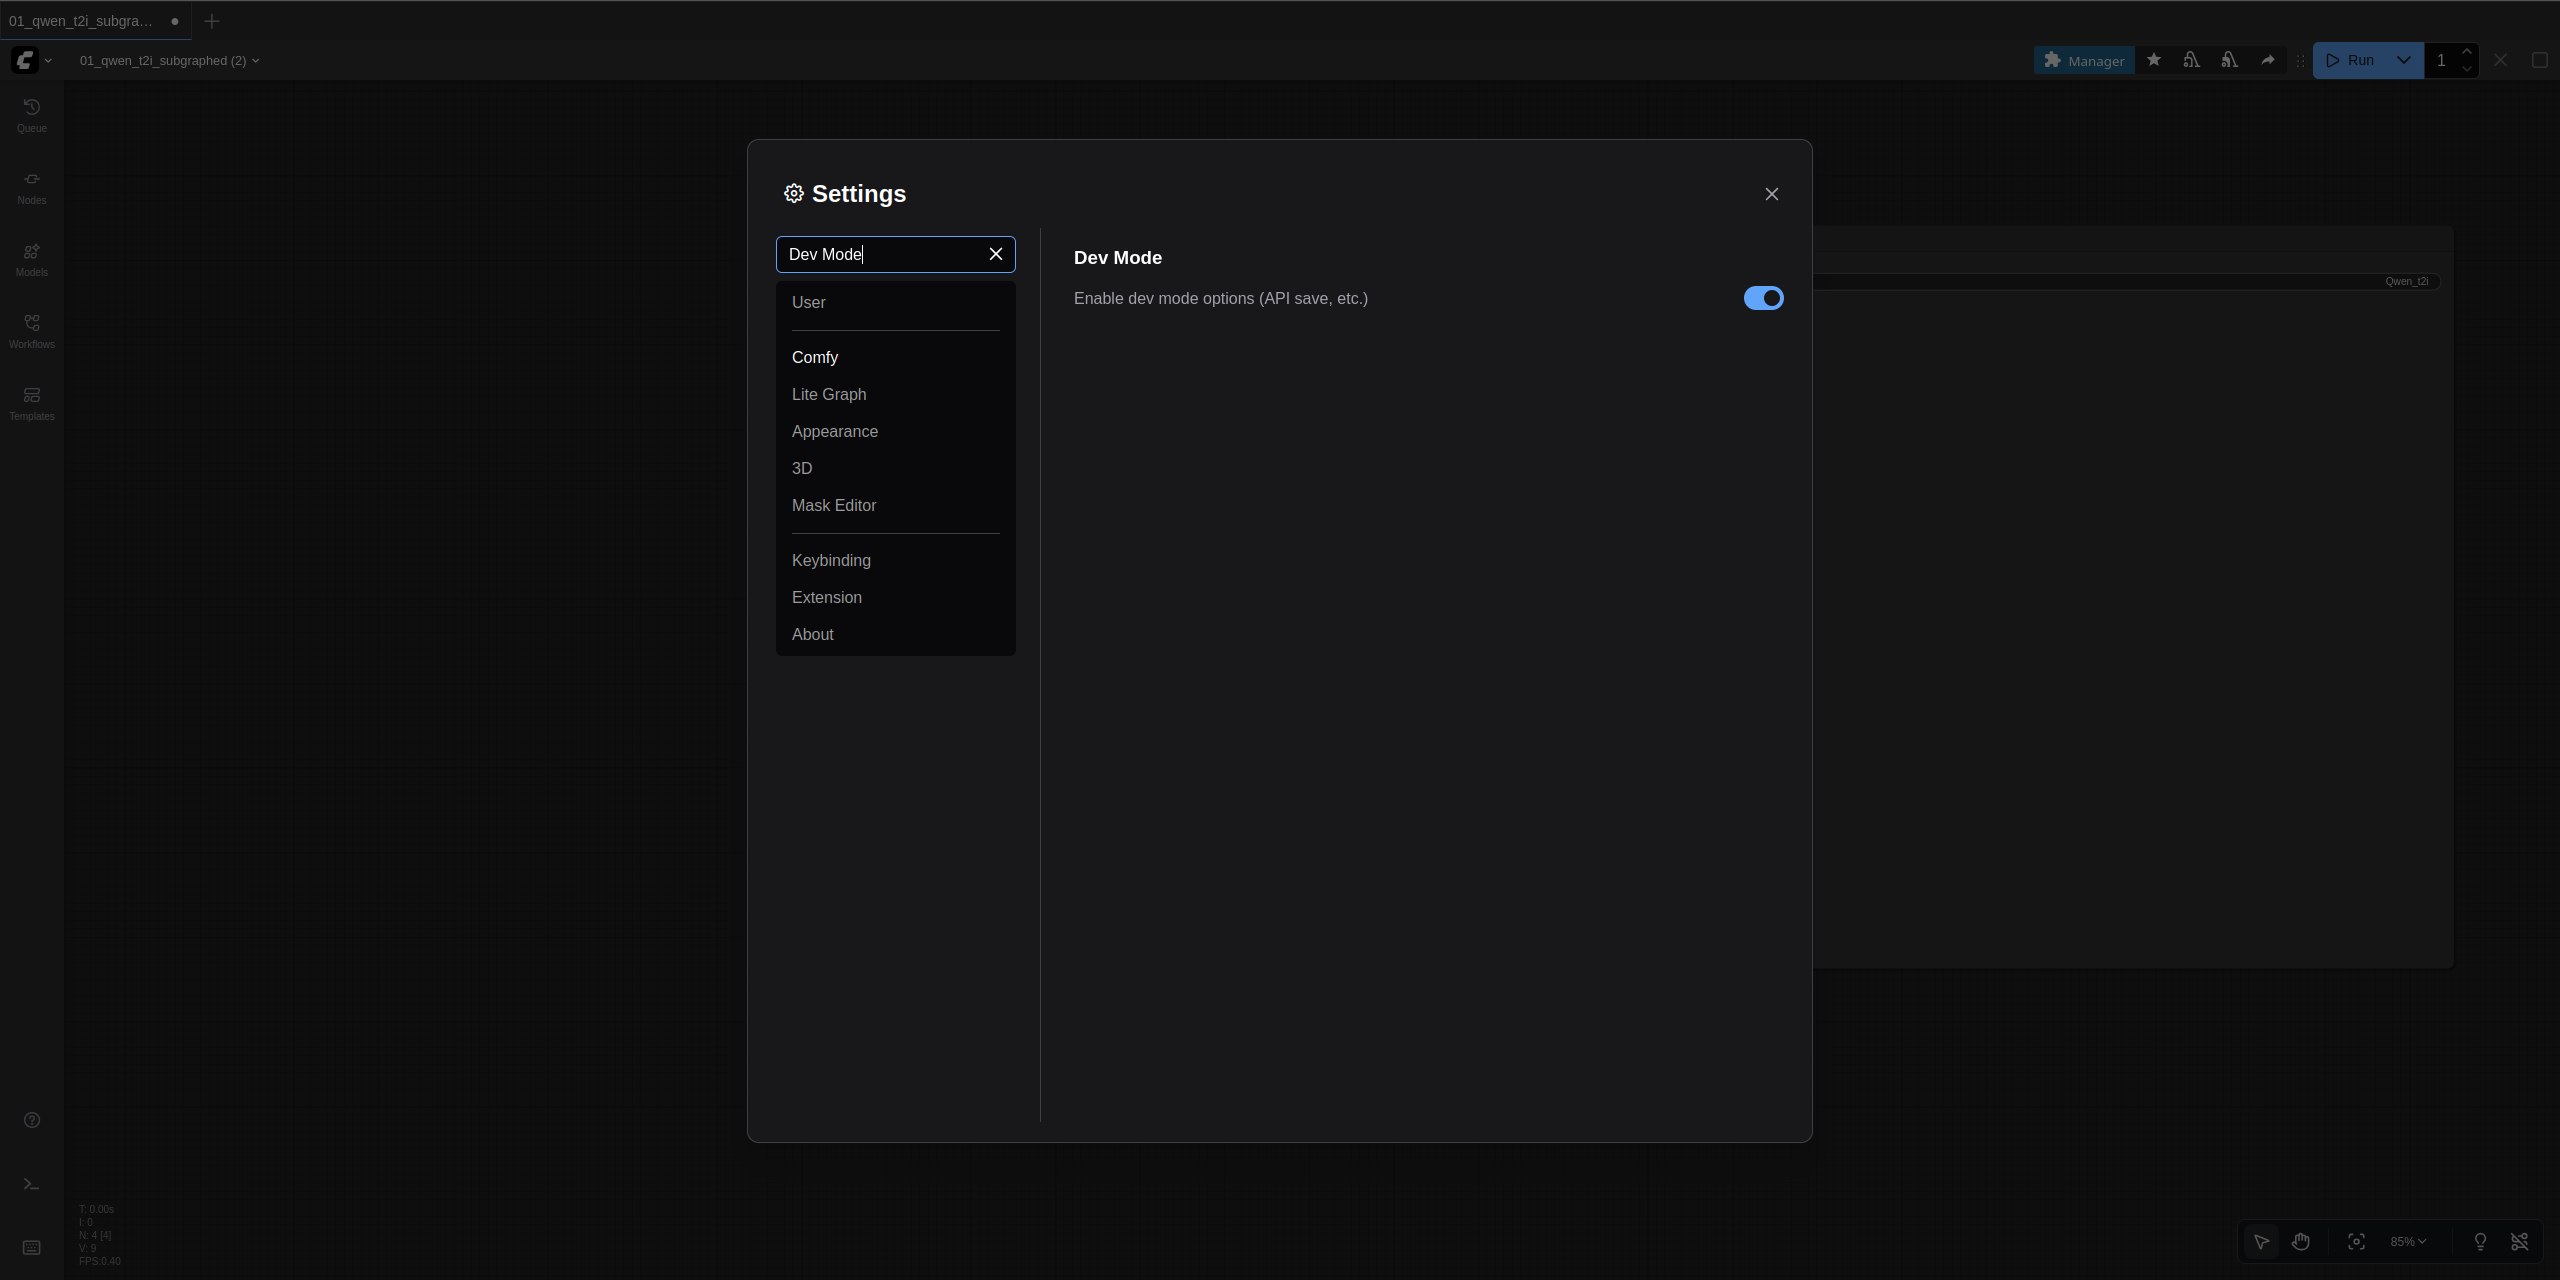
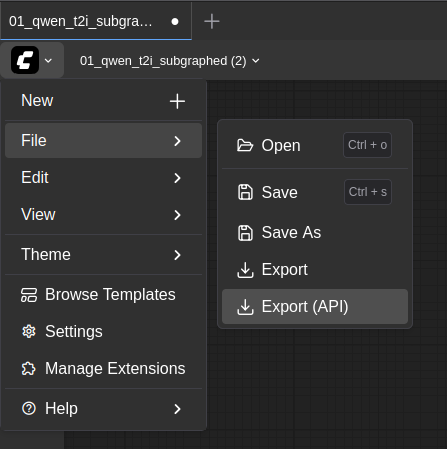
- 先从 ComfyUI 导出正确格式的工作流。打开 ComfyUI 左上角 logo,进入 设置,搜索并启用 Dev Mode,其描述通常为 Enable dev mode options (API save, etc.)。
- 然后在 ComfyUI 中载入你要用于图像生成的工作流,点击 logo 后在 File 子菜单中使用 Export (API),为文件命名并下载。
- 回到 OPL 数据空间,在 ComfyUI Workflow 区域点击 Upload,选择刚下载的 JSON 工作流文件。

-
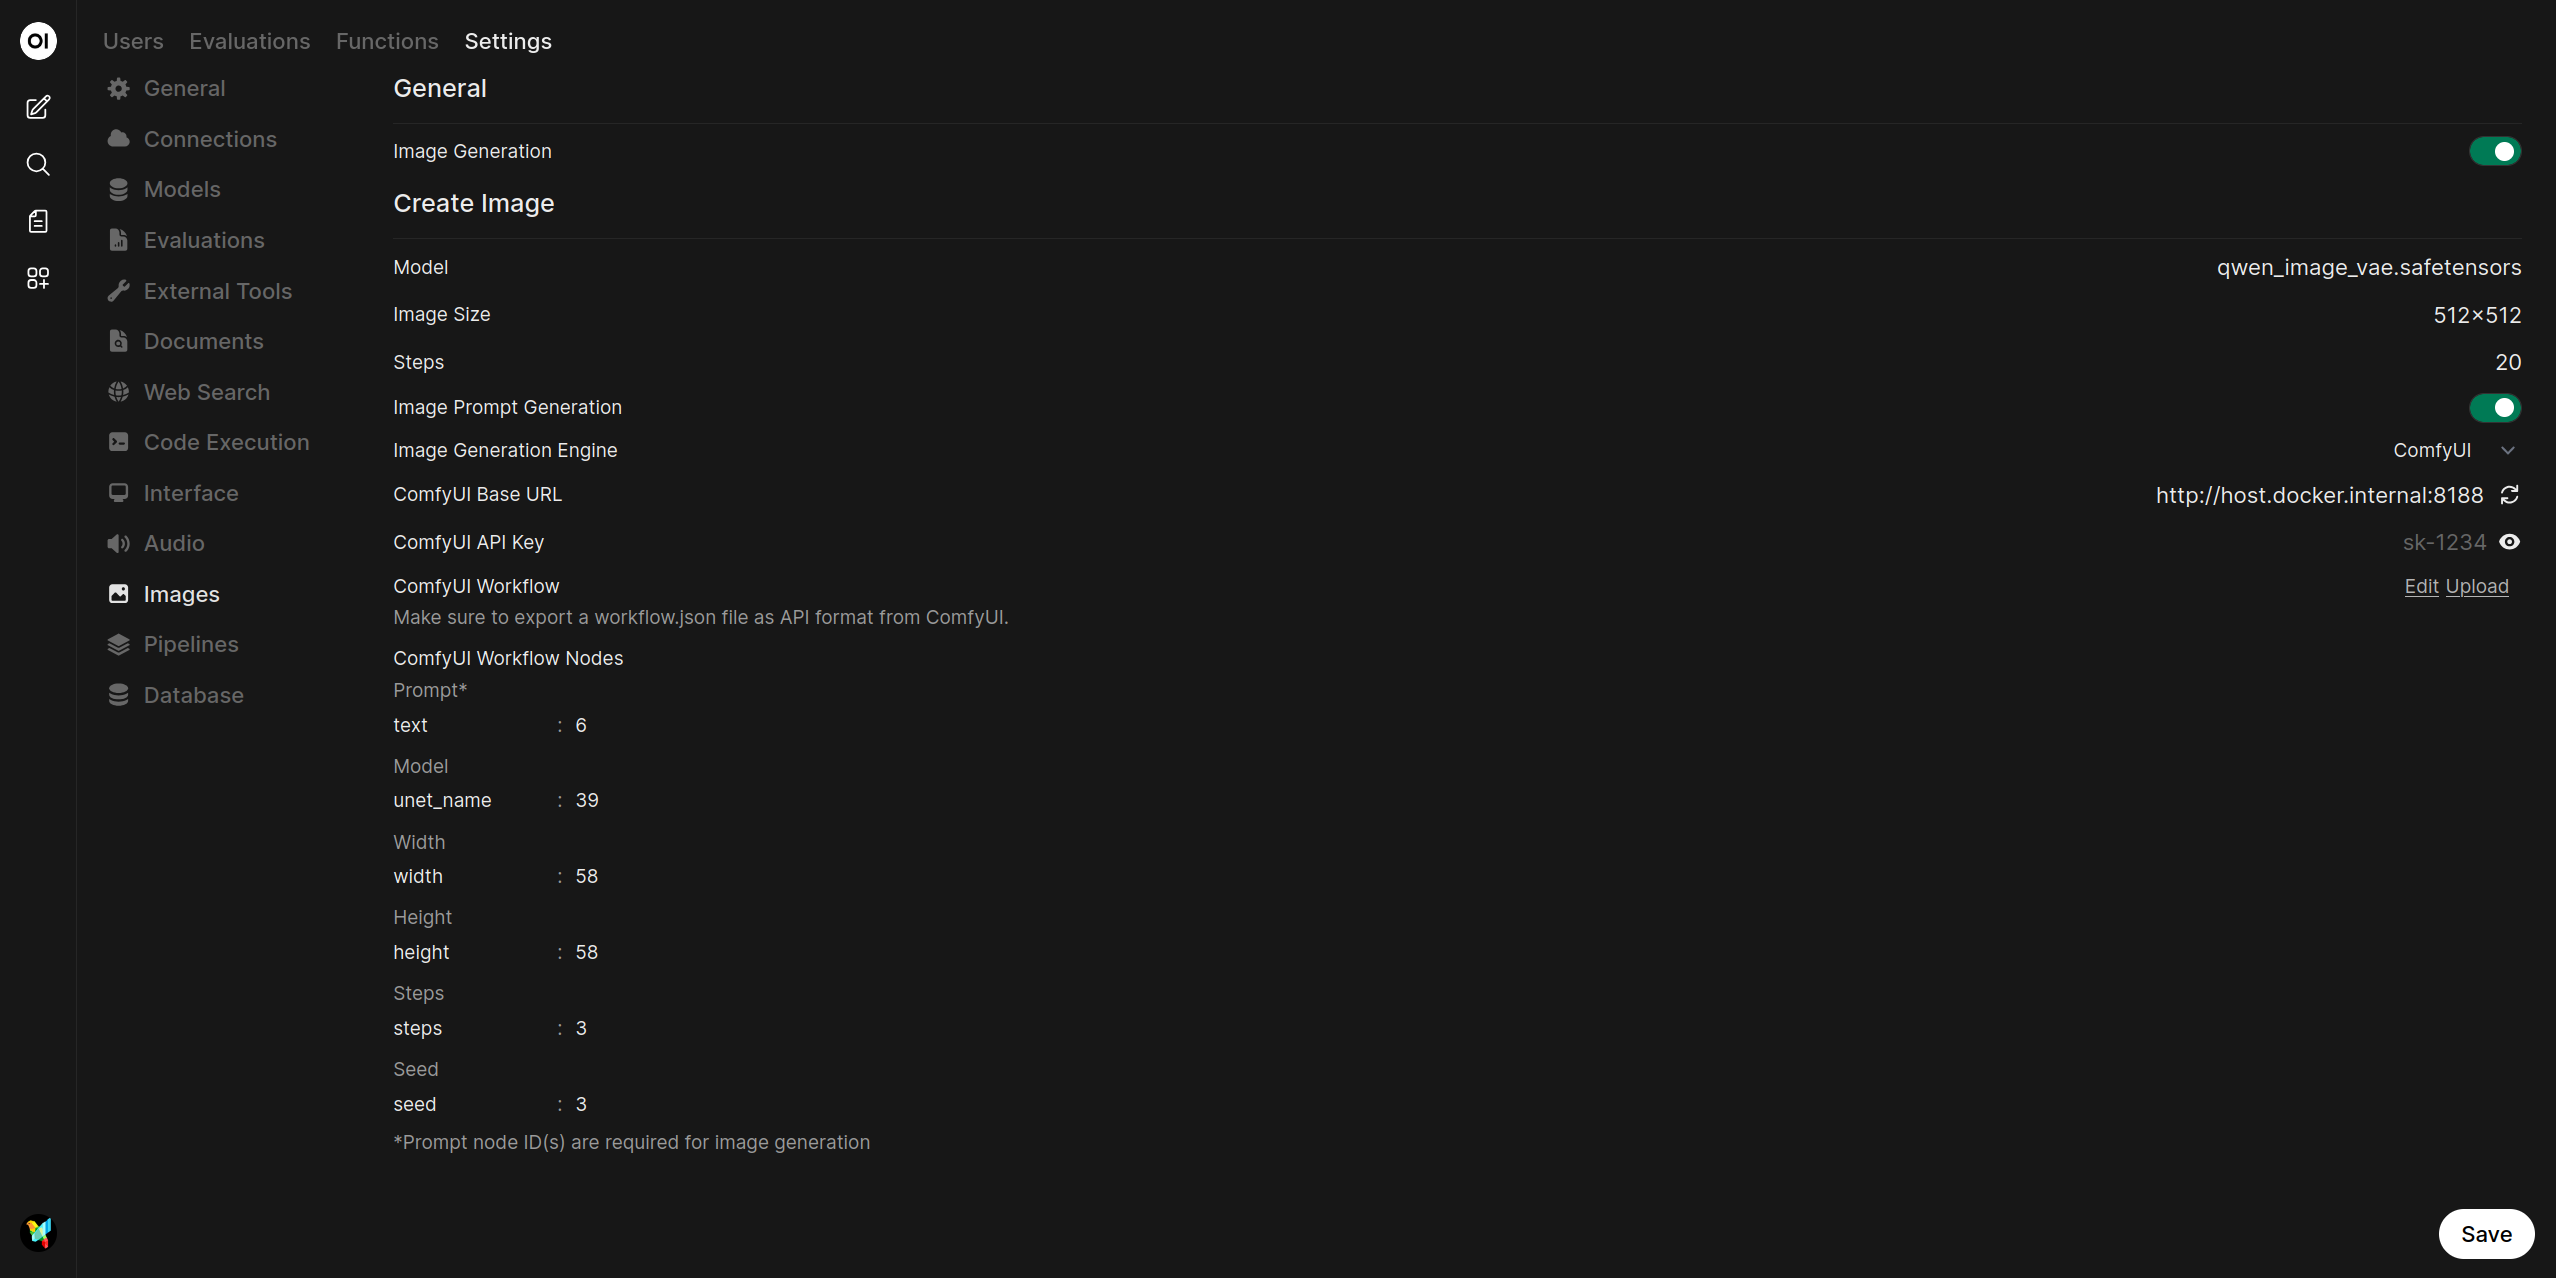
映射工作流节点: 导入后,需要把工作流中的节点 ID 映射到 OPL 数据空间的对应字段。每个参数有两个输入框:
- Key(左侧):工作流中的输入参数名,例如
text、ckpt_name、seed - Node Ids(右侧):包含该输入的节点 ID,可为逗号分隔列表
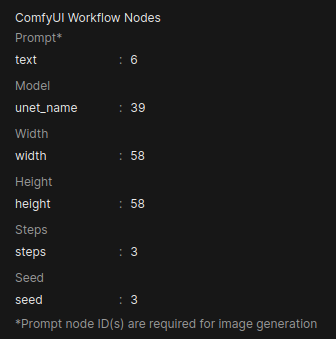
图像生成界面默认有 6 个可配置参数:
- Key(左侧):工作流中的输入参数名,例如
| 参数 | 默认 Key | 必填 | 说明 |
|---|---|---|---|
| Prompt* | text | 是 | 正向提示词 |
| Model | ckpt_name | 否 | Checkpoint 模型名 |
| Width | width | 否 | 输出宽度 |
| Height | height | 否 | 输出高度 |
| Steps | steps | 否 | 采样步数 |
| Seed | seed | 否 | 随机种子,用于复现 |
注意: 带星号的参数为必填项;严格来说只有 prompt 对应的节点 ID 是必须配置的。
你可以在 ComfyUI 中点击节点查看其详情,从而找到对应的节点 ID。
有时你需要把 OPL 数据空间中 ComfyUI Workflow Nodes 的 Key 改成与你工作流实际字段一致的名称。例如默认的 seed 在某些工作流里可能需要改成 noise_seed。
某些工作流,例如使用 Flux 模型的工作流,可能需要为同一个参数填写多个节点 ID。若某个字段需要多个 ID,请用逗号分隔,例如 1 或 1, 2。
- 保存配置: 点击页面底部的 Save 完成设置。之后你就可以在 OPL 数据空间中用 ComfyUI 生成图片。

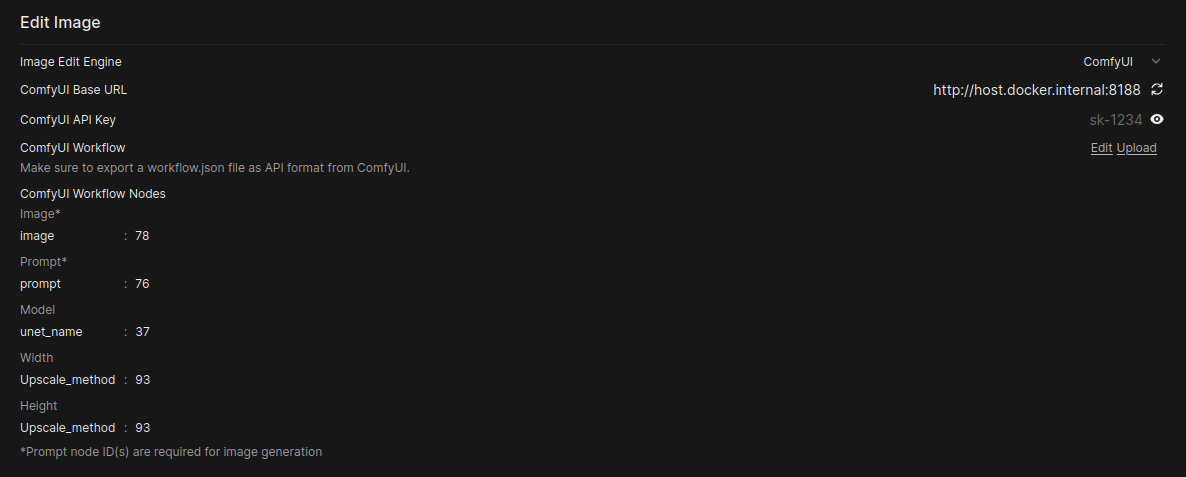
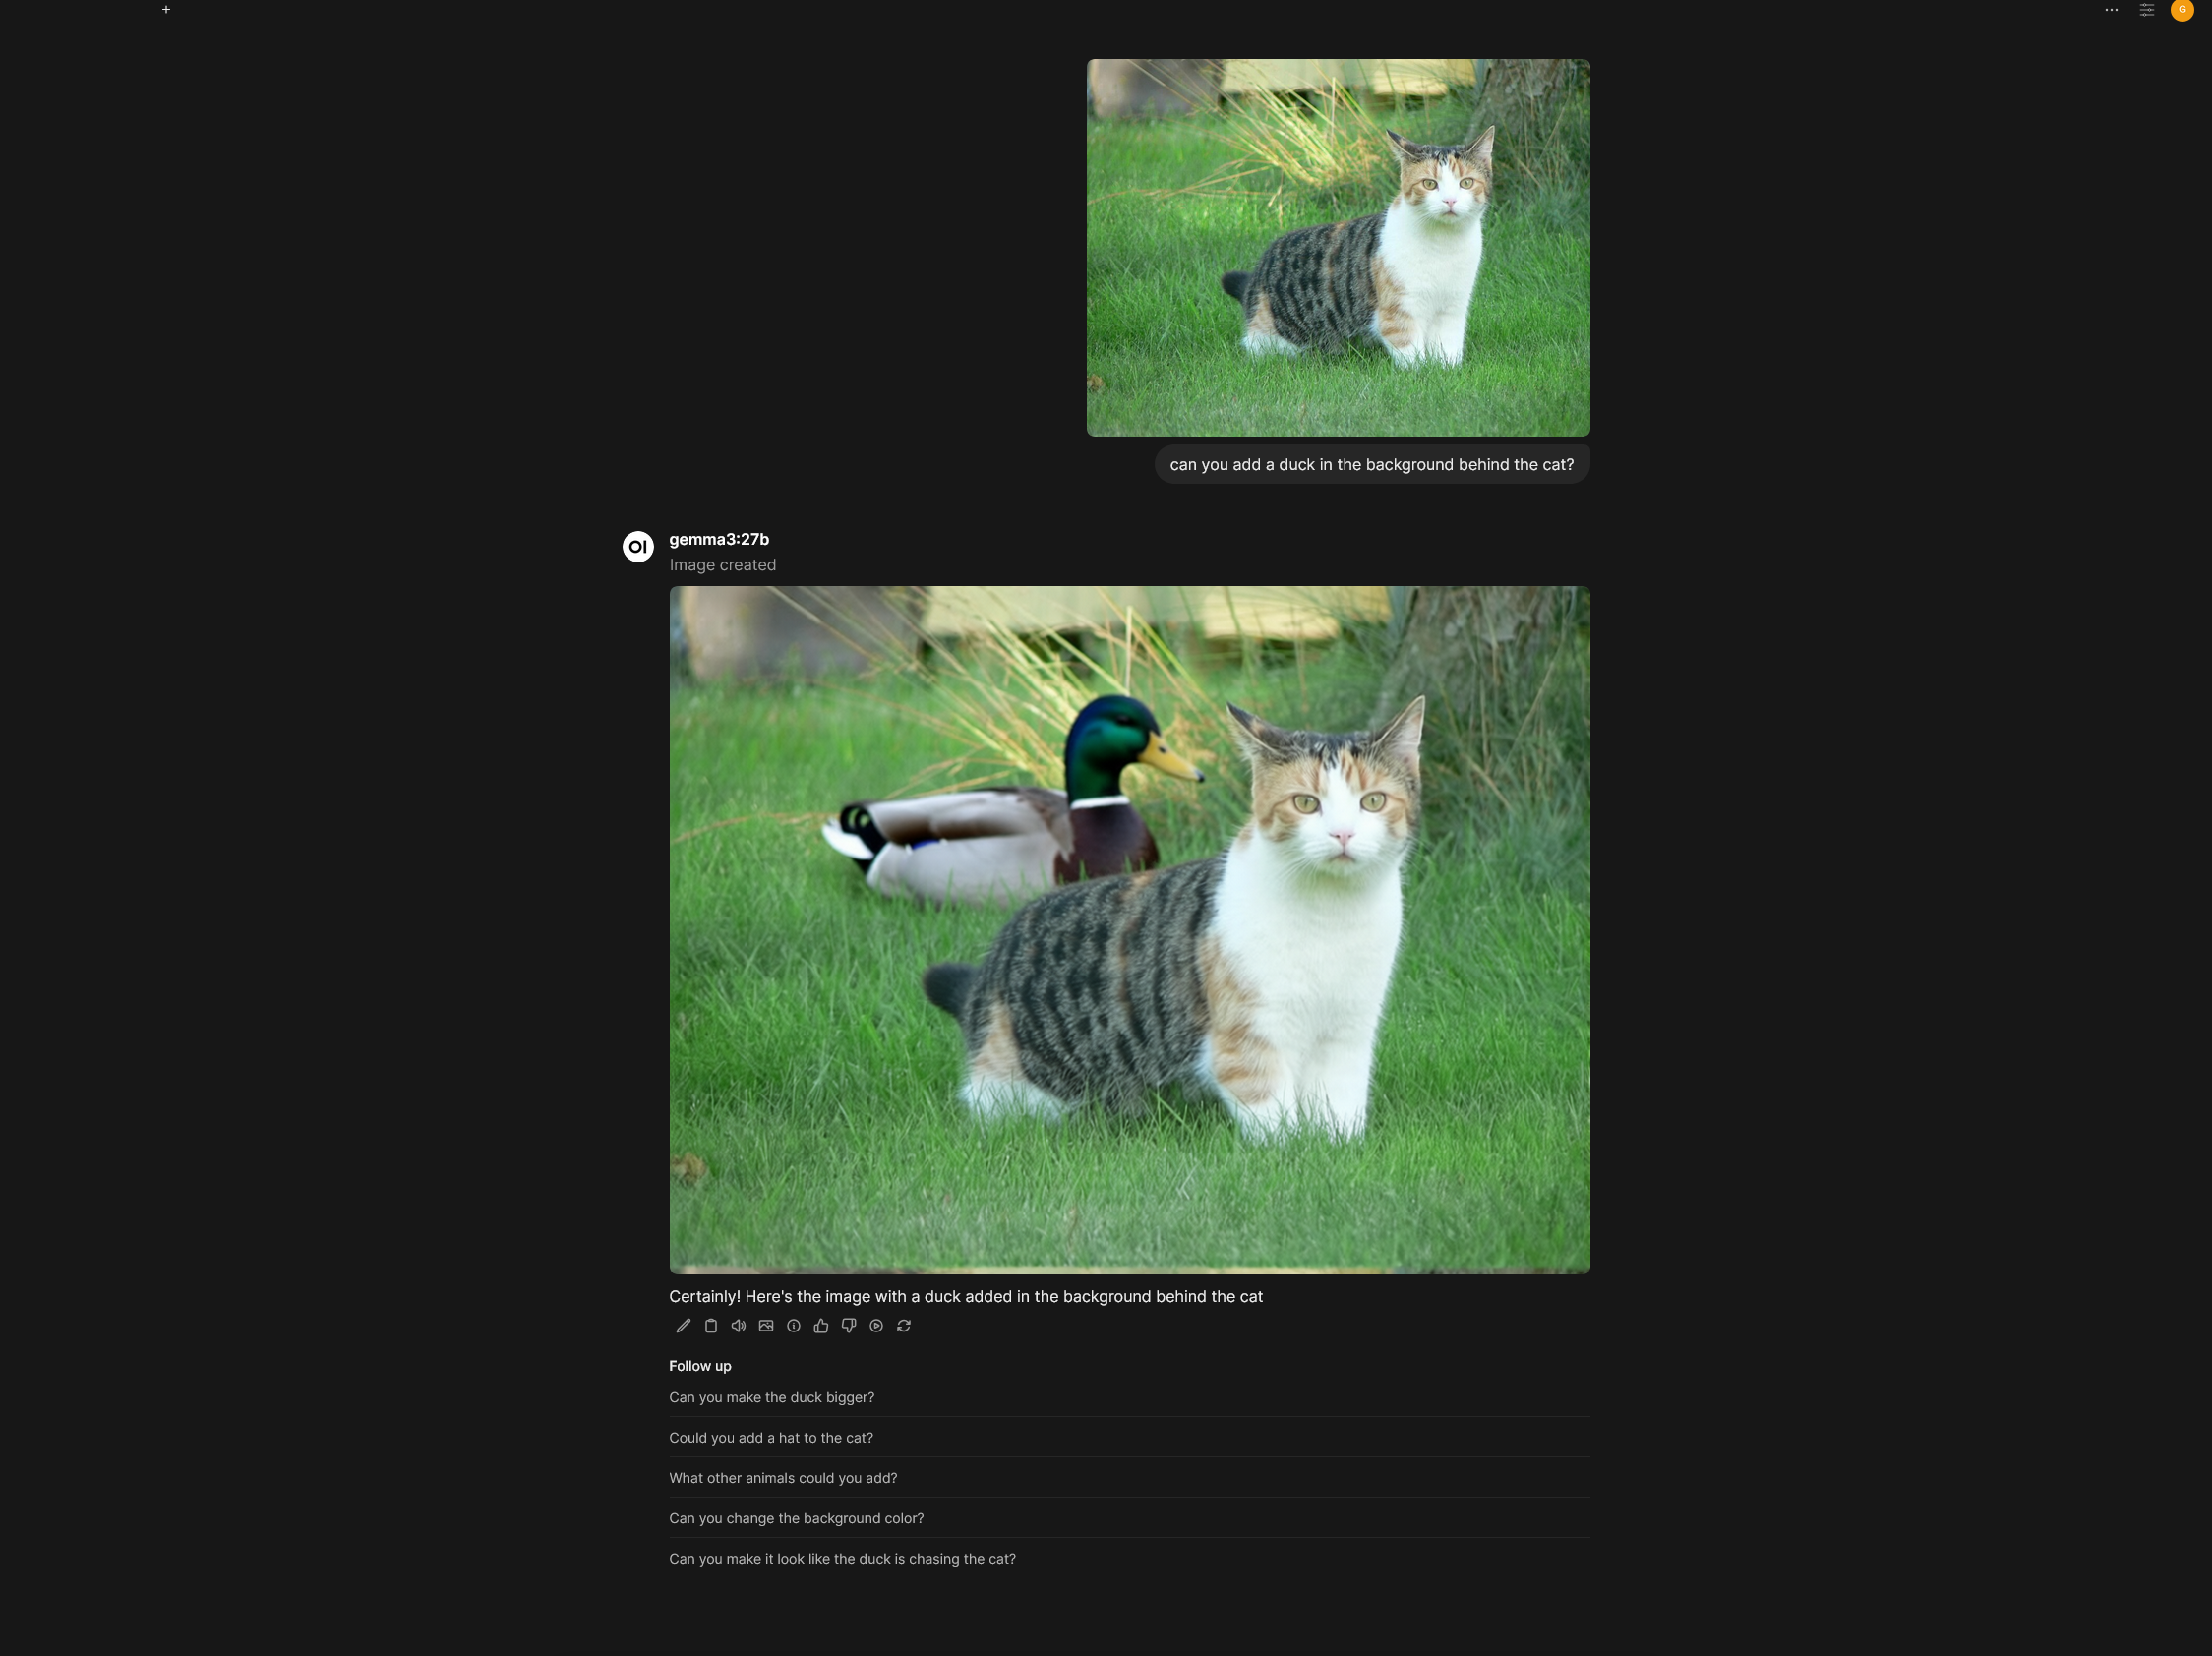
编辑图片
OPL 数据空间也支持通过 ComfyUI 编辑现有图片。
- 进入图像设置:在 OPL 数据空间中打开 管理员面板 > 设置 > Images。
- 配置图片编辑:
- 在 Edit Image 区域将 Image Edit Engine 设为
ComfyUI。 - Model:选择用于编辑的模型。
- Image Size:设置输出分辨率。
- ComfyUI Base URL 与 API Key:与图片生成部分共用。
- ComfyUI Workflow:上传专为图片编辑设计的工作流文件,流程与生成相同。
- 映射工作流节点:编辑场景下有 5 个默认参数,且与生成场景不同:
- 在 Edit Image 区域将 Image Edit Engine 设为
| 参数 | 默认 Key | 必填 | 说明 |
|---|---|---|---|
| Image* | image | 是 | 待编辑的输入图像 |
| Prompt* | prompt | 是 | 编辑指令 |
| Model | unet_name | 否 | 扩散模型名 |
| Width | width | 否 | 输出宽度 |
| Height | height | 否 | 输出高度 |
注意: 与图像生成不同,图像编辑默认不支持 negative prompt、steps、seed 或 batch size 参数。
深入理解:如何把 ComfyUI 节点映射到 OPL 数据空间
在通过 API 集成 ComfyUI 时,最常见的难点就是理解节点 ID 映射。你需要把 OPL 数据空间的通用控制项(如 “Model”、“Width”、“Prompt”)映射到静态 ComfyUI 工作流 JSON 中的具体节点输入。
在 OPL 数据空间中映射工作流节点
OPL 数据空间的 ComfyUI Workflow Nodes 区域允许你将通用控制项映射到静态工作流 JSON 中的具体节点输入。每一行都包含两个字段:
| 字段 | 说明 | 示例 |
|---|---|---|
| Key(左侧) | 节点 inputs 块中的输入参数名 | text, ckpt_name, seed |
| Node Ids(右侧) | 目标节点 ID,可用逗号分隔 | 6 或 1, 2, 3 |
在 ComfyUI 中识别节点 ID 与输入 Key
在配置 OPL 数据空间前,建议直接用文本编辑器查看导出的工作流 JSON。节点 ID 就是 ComfyUI 在 JSON 顶层对象中使用的数字键。
识别输入 Key(参数名)
Key 是该节点 JSON 结构中你希望控制的精确参数名,例如 seed、width、ckpt_name。
- 查看 JSON:打开你的 API 工作流 JSON,例如
workflow_api.json。 - 找到节点 ID:定位对应节点 ID 的对象,例如
"37"。 - 识别 Key:在
"inputs"块中找到你想控制的字段。
示例:CheckpointLoaderSimple 节点(ID 37)
"37": {
  "inputs": {
      "ckpt_name": "qwen_image_fp8_e4m3fn.safetensors"
  },
  "class_type": "CheckpointLoaderSimple",
  "_meta": {
    "title": "Load Checkpoint"
  }
},
示例:KSampler 节点(ID 3)
"3": {
  "inputs": {
      "seed": 42,
      "steps": 20,
      "cfg": 8.0,
      "sampler_name": "euler",
      "scheduler": "normal",
      "denoise": 1.0
  },
  "class_type": "KSampler",
  "_meta": {
    "title": "KSampler"
  }
},
不同任务的默认 Key
图像生成:
- Prompt:
text - Model:
ckpt_name - Width:
width - Height:
height - Steps:
steps - Seed:
seed
图像编辑:
- Image:
image - Prompt:
prompt - Model:
unet_name - Width:
width - Height:
height